Lesson 7: Load HTML Elements before Selecting them in JavaScript
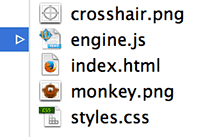
1. Start this lesson with these Project Files. After you dowload and unzip the folder, you should see the following files.

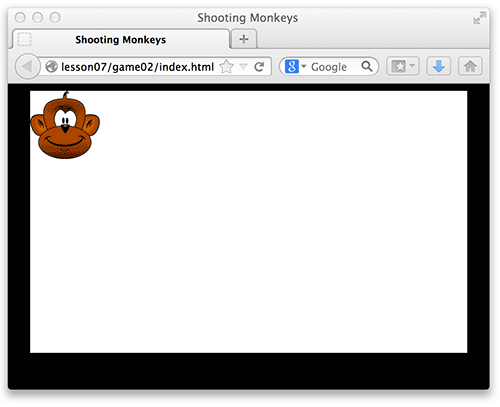
2. Open index.html in your favorite browser. A message should appear that says "just testing". After you close the message, you should see a white game window with a monkey in it.

3. Open index.html, styles.css, and engine.js in your favorite text editor. Look over the code to become familiar with it.
4. In the HTML, give the image an id of monkey_01. You will use this id in JavaScript to select the image. Remember document.getElementById()?

Notice the img has a class monkey. In this way, you can apply the same style to multiple monkey images. You can give each monkey image a unique id, such as monkey_01, so you are able to select it in JavaScript, or apply styles that are only intended for that one particular monkey image. Remember, use a class when multiple elements will be given the same style; use an id when you want to give one element a unique identifier.
5. In the CSS, add a z-index of 10 and a position of absolute to the monkey class.

In this way, if you add additional monkeys, they will all have the same z-index and all have an absolute position (relative to gameWindow). If elements have the same z-index, those that appear higher in the HTML code will be in front of those that appear lower.
The reason to use 10 instead of 1 is because you may want to go back later and add elements to the gameWindow with a smaller z-index so they appear behind the monkeys.
6. The alert() in the JavaScript was added to ensure that the link to engine.js in the HTML file was correct. If the alert works, then it is linking to the file correctly and you can comment out or delete the line of code.

7. Add JavaScript to place monkey_01 in the center of the screen.

This code does not work. Why you ask? It is either a syntax error or a logic error. A syntax error is like a grammatical or spelling error. You wrote a sentence (a line of code) that is not understood by the browser because it is not written in proper JavaScript. A missing or an extra space or character, a misspelled JavaScript command, or a mistake in the upper and lower case letters of a command are all common syntax errors.
However, this code is written correctly - there is no syntax error.
So, there must be a logic error. This is an error in the instructions that you are giving. An example of a logic error is changing the left property of an element to move it up or down instead of its top property. The code works, just not as you intended.
Using getElementById() to select an element that does not exist is an example of a logic error. That is actually what is happening here. You are selecting an element with an id of monkey_01 and there is no such element. What? Of course there is... you just added the id in step 4 of this lesson. Ahhh, but some errors (also known as bugs) are hard to find. In this case, the JavaScript code is running before the html document (including all the HTML elements) have been loaded; so at the time the JavaScript runs, the img element you are trying to select does not yet exist.
8. To solve this issue, you need to modify the code so that it does not run until the page has loaded. In the HTML, add an onload event to the body tag to call init().

9. Then, in engine.js, create the init() function and add the code in the function to position the monkey.

You could use a different name for the function (such as pageLoaded) instead of init. I like init because it is where I put all the code to initialize the game, which always happens immediately after the page is loaded.
Naming functions and variables with some meaning is important for the readability of the code. Variables are usually nouns (they are something) such as firstName, score, numLives, monkey_01, etc. Functions are usually verbs (they do something) such as initialize(), alert(), fireLaser(), etc.
10. As always when you modify the code, make sure it still works.

Test Yourself!


